Installation & Use Instructions for Drum Testing Machine
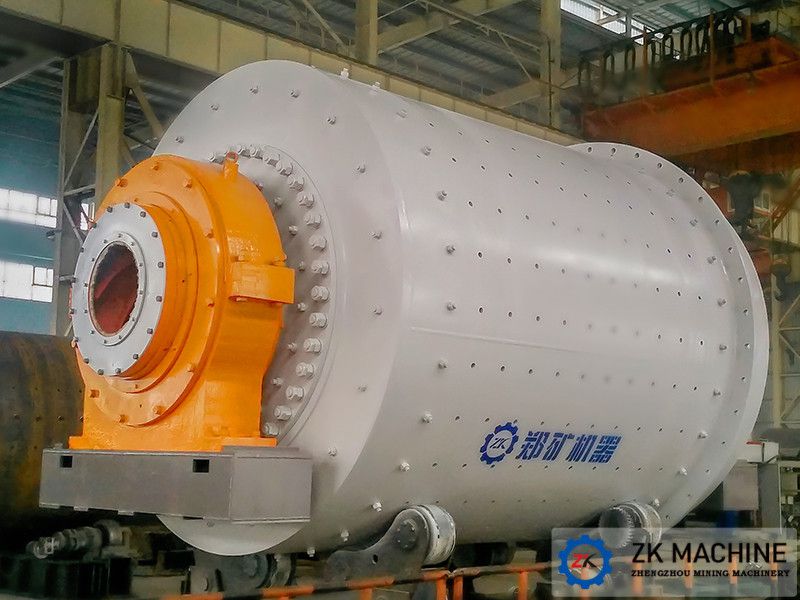
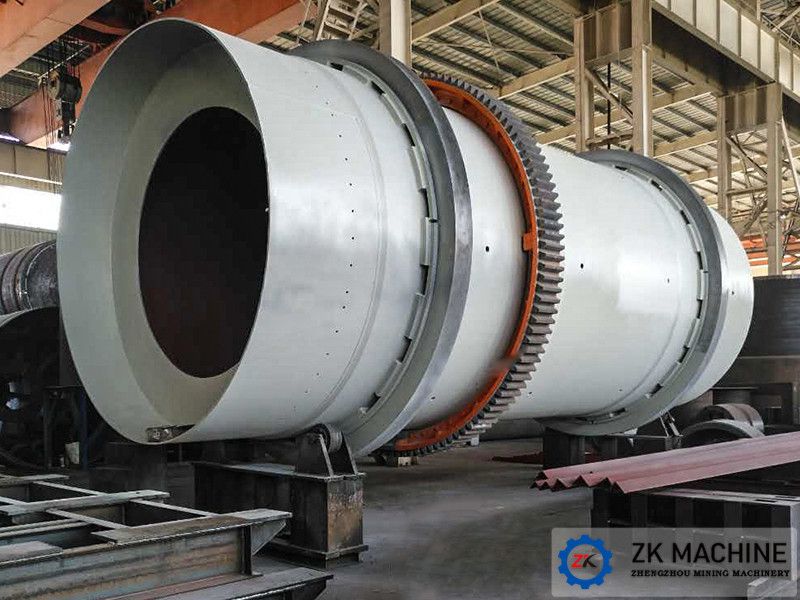
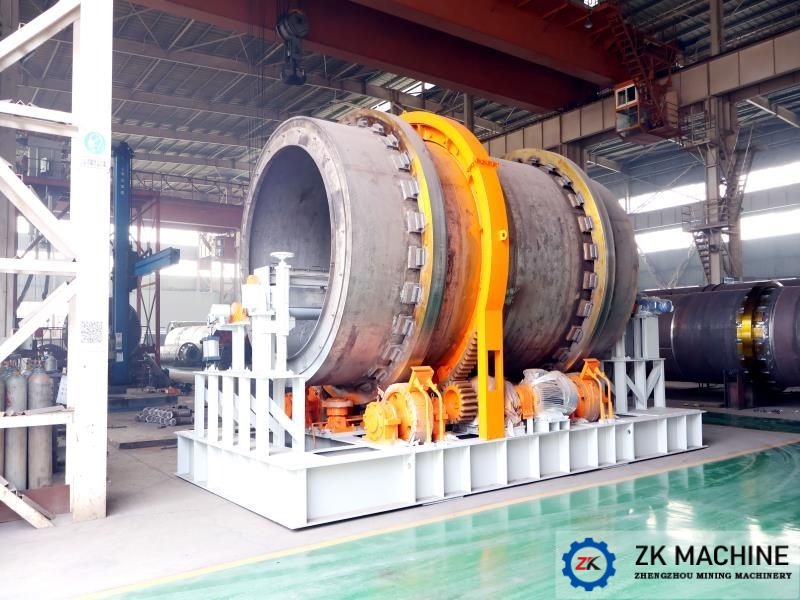
The drum testing machine is a special equipment for measuring the drum index and anti-wear index of sinter and pellets. Used to test the impact resistance and wear resistance of sinter and pellets. The drum testing machine should comply with the design requirements of GB8209-94 "Method for determination of drum strength of sinter and pellets".
1. Installation
1.1 Check carefully whether the equipment is intact before installation:
1) Whether the motor is bumped or damaged;
2) Carefully check whether the connecting bolts are loose or missing;
3) Whether the drum tube is dented.
1.2 The drum machine should be installed in a place with good ventilation and shelter from rain. It should not be installed in a leaky place. It also requires maintenance space to facilitate operations. The drum should be installed on a concrete foundation with a foundation depth of more than 500 mm. When installing, ensure that the machine is level and the inclination is less than 1.5 degrees. The concrete must be above No. 150 and the foundation can be operated only after the foundation reaches the solidification period.
1.3 After the installation is completed, the power cord is connected and the grounding wire is reliably grounded. Test drive is ready.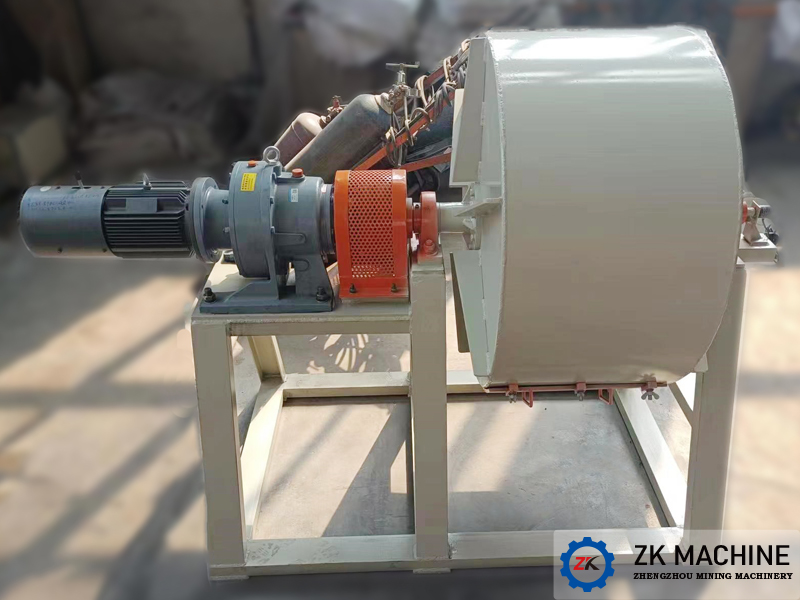
2. Debugging and use
2.1 First use manual rotation of the motor coupling to make the drum rotate for more than two turns. Only after confirming that there is no obstruction in all components can the machine be started. If any abnormality is found, perform repairs immediately. When it is confirmed that there are no abnormal phenomena, the machine needs to be operated without load for more than fifteen minutes before it can be operated with load. It can be put into use after normal operation.
2.2 According to the standard requirements, weigh 15 kilograms of material and put it into the drum. After feeding the material, cover the drum cover, tighten the wing nut, and secure the drum cover firmly.
2.3 Press the start button to start the machine. During the test, the drum rotates continuously according to the required number of revolutions (200 rpm) and speed (25 rpm), causing the material to collide and friction with the drum wall and the material. In order to achieve the drum index and anti-wear index of the test material. After reaching the number of revolutions, the machine stops automatically. One work cycle is completed.
2.4 After the machine stops rotating, keep it still for 1-2 minutes to allow the dust to fully fall. Then open the drum cover, pour out the materials in the drum, and carefully clean and collect the powder in the drum and on the drum cover. . The materials after coming out of the drum are sieved through sieves with specified apertures, and the weight of each particle size is weighed to calculate the impact resistance and wear resistance of sinter and pellets.
3. Precautions
3.1 The reducer equipped with the rotating drum should be filled with oil before use. The type of oil should be used according to the standard and checked regularly. The oil should be changed once every half month in the first period of use, and every six months thereafter.
3.2 After starting the drum, if there is an abnormal sound or even the motor does not rotate, please press the red stop button and try again after troubleshooting.
3.3 After starting the drum and running stably, please verify whether the displayed speed is within the standard requirement range. If it is outside the range, adjust the frequency so that the speed meets the standard, stop the test, and replace the material before re-testing.


